
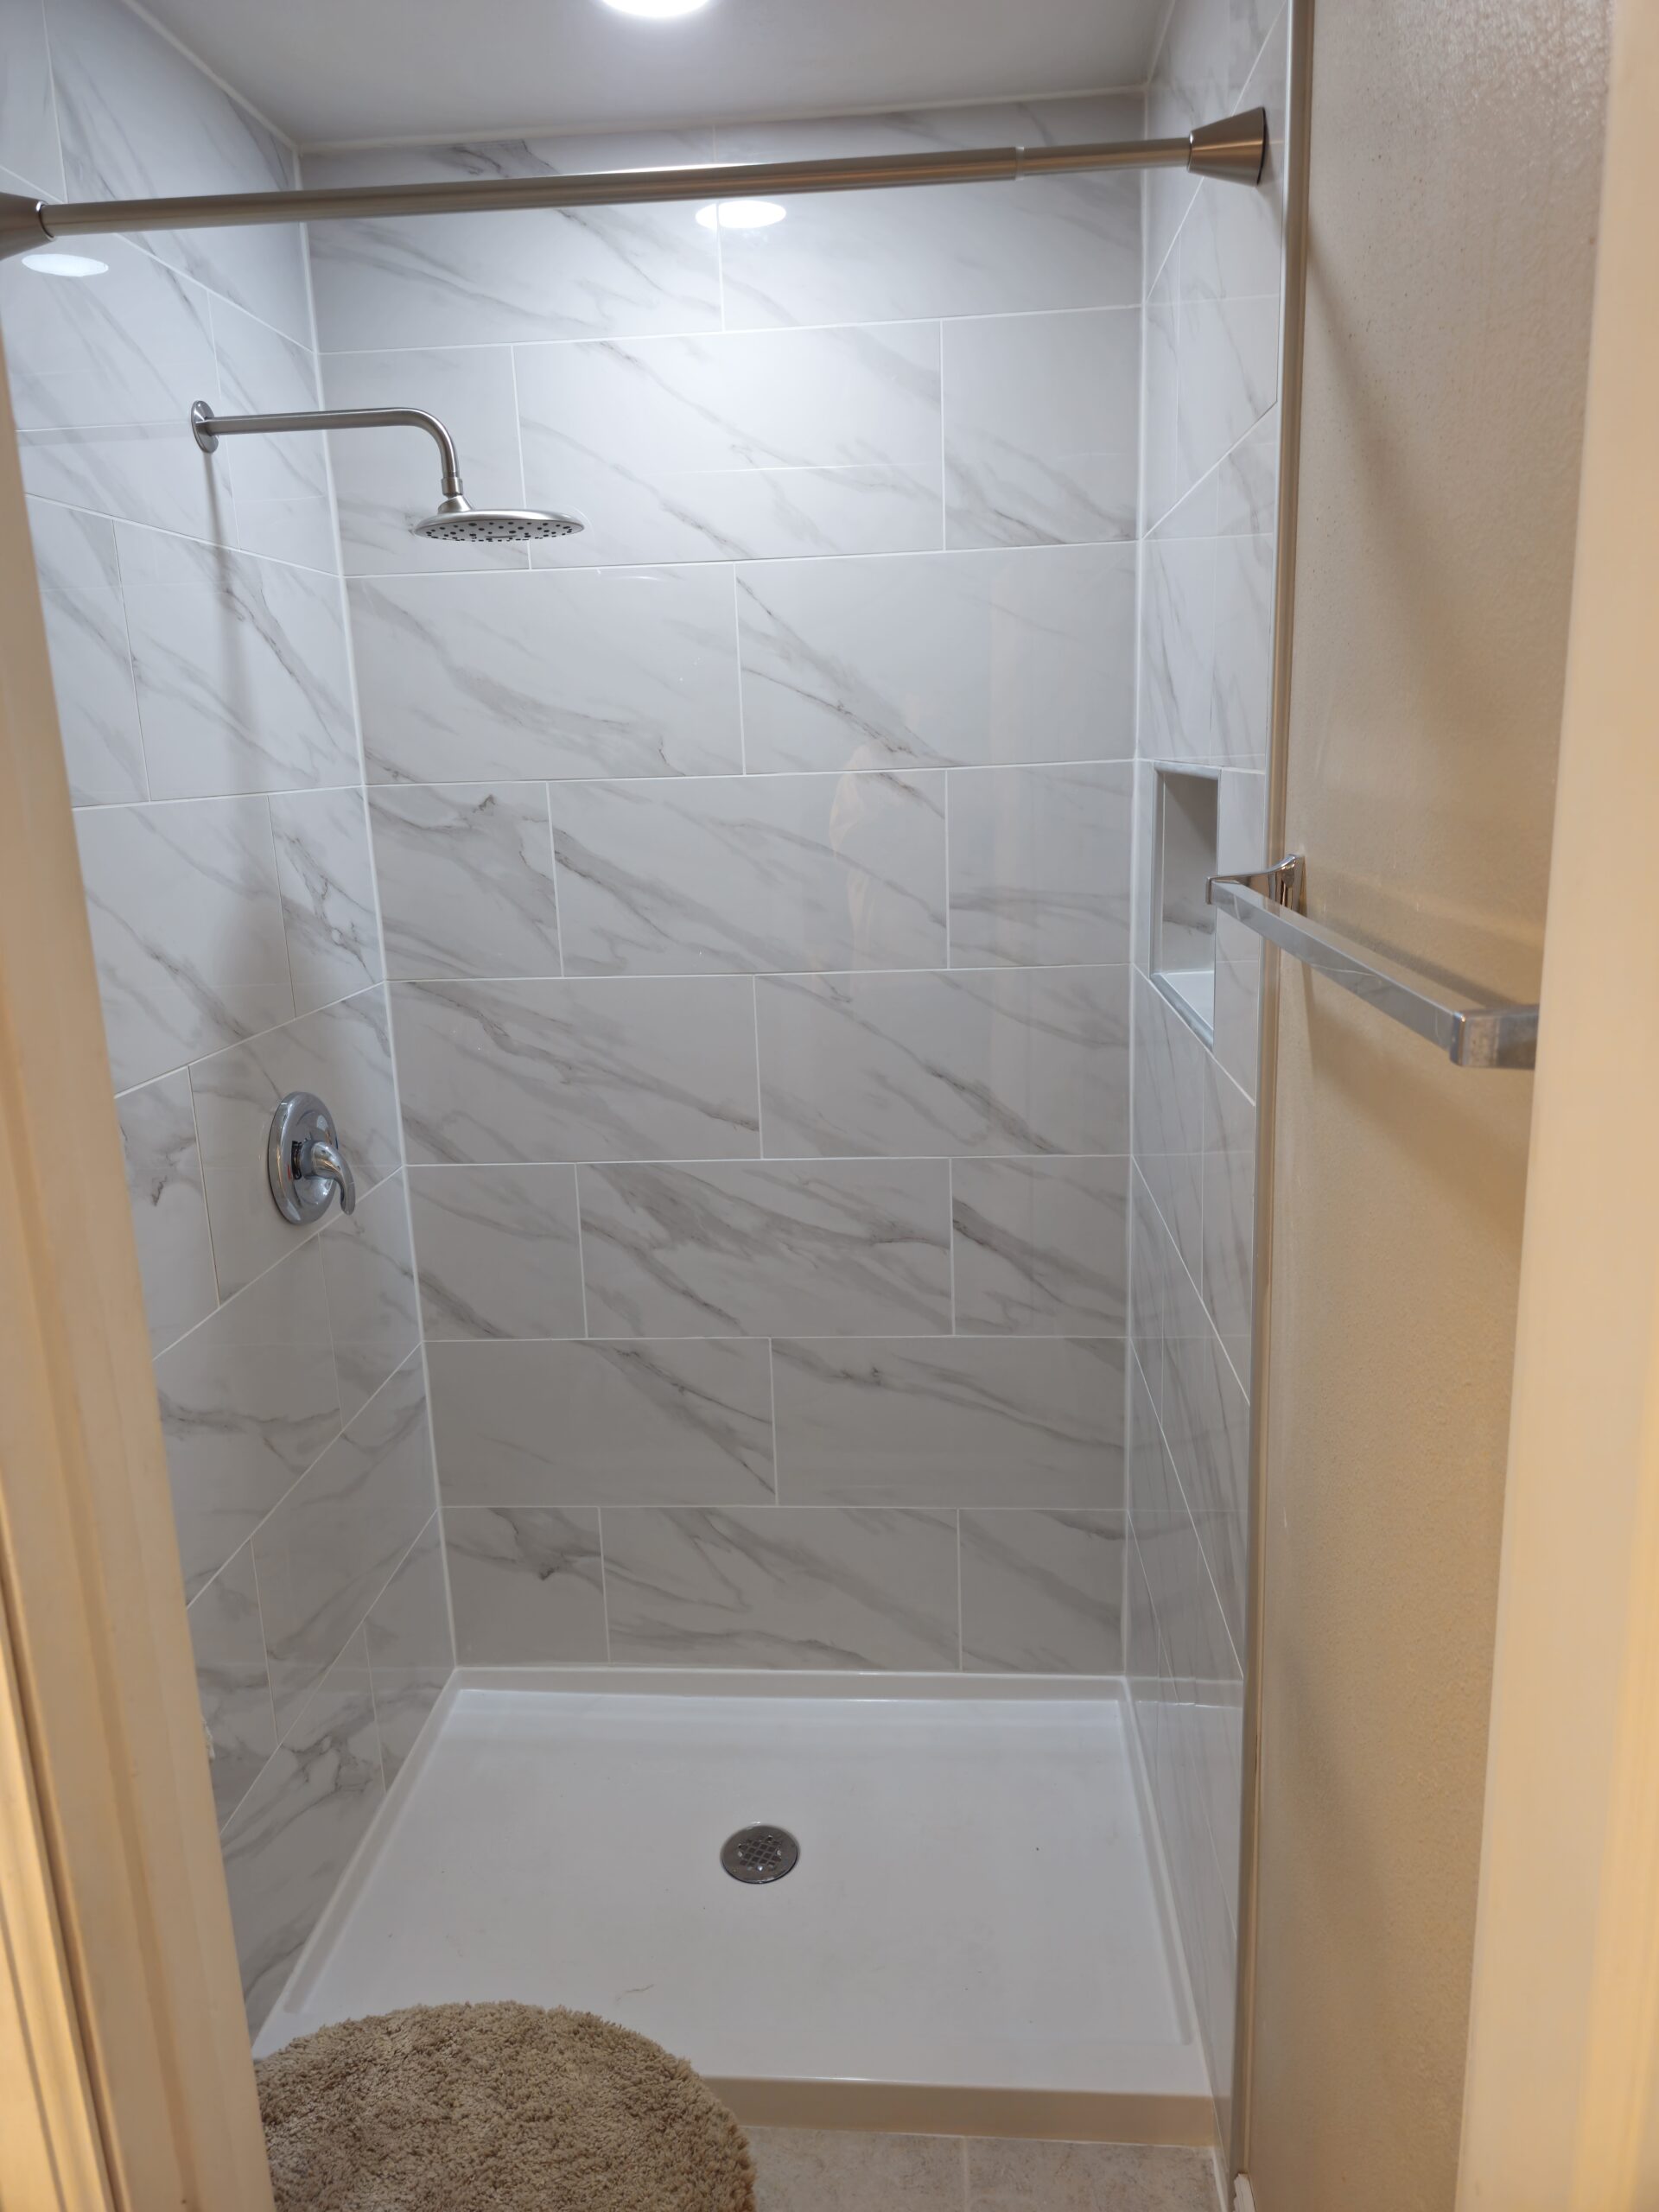
Why Showers Failand How to Protect Your Home
A SHOWER IS A SYSTEM
A shower is not tile. A shower is a system. Every shower has layers. Each layer has a job. If one layer is misunderstood, skipped, or poorly connected, the entire system is compromised even if it looks perfect.
The 5 Layers of a Shower:
- Framing & blocking
- Substrate
- Waterproofing layer
- Bond coat
- Tile & grout
Tile is decorative. Waterproofing is protective.
WHY SHOWERS FAIL
Failure #1: No True Waterproofing Layer
Tile, grout, cement board, and water-resistant drywall are not waterproofing systems.
For decades, bathrooms were built without a dedicated waterproofing membrane. That wasn’t negligence it was the standard of the time.
Understanding when your bathroom was built helps explain what’s behind the tile.
How showers were built before modern waterproofing
In older bathrooms, common construction methods included:
- Cement board or mortar beds directly behind tile
- “Green board” or water-resistant drywall
- Thick mud walls
- Grout relied on as the primary moisture barrier
These systems were designed to tolerate moisture, not stop it.
Water was expected to pass through tile and grout and slowly dry out over time.
Why those showers sometimes lasted decades
Many older showers survived longer than expected because:
- Tile was smaller and more breathable
- Showers were used less frequently
- Homes had more natural air leakage
- Materials were thicker and more forgiving
Survival does not equal waterproofing.
Those systems relied on:
- Evaporation
- Time
- Luck
What changed (and why it matters)
Modern bathrooms are very different:
- Larger-format tile with fewer grout lines
- Daily use
- Tighter homes with less air movement
- Heavier fixtures and glass enclosures
These changes mean moisture has fewer ways to escape.
Old moisture-tolerant systems fail faster under modern conditions.
Cement board is not waterproof
Cement board is strong and durable but it is porous.
It does not stop water.
It allows water to pass through it.
Cement board must be paired with a waterproofing system to protect the framing behind it.
Cement board is a substrate — not a waterproofing layer.
Why water-resistant drywall isn’t protection
Water-resistant drywall was never intended for modern showers.
It resists occasional humidity — not daily water exposure.
When used in showers, it relies entirely on:
- Grout
- Caulk
- Drying time
Once moisture gets behind tile, deterioration accelerates quickly.
The silent failure problem
Showers without true waterproofing rarely fail dramatically at first.
They fail quietly:
- Moisture builds behind tile
- Framing absorbs water
- Mold develops out of sight
- Damage spreads beyond the shower
By the time symptoms appear, repairs often require full demolition.
Why this matters for homeowners today
If your bathroom was built:
- Before the mid-1990s, it likely lacks modern waterproofing
- Before the early 2000s, it may have partial protection at best
Even if the tile looks fine, the system behind it may be living on borrowed time.
This doesn’t mean your bathroom is unsafe today but it does mean:
The risk increases every year it remains unchanged.
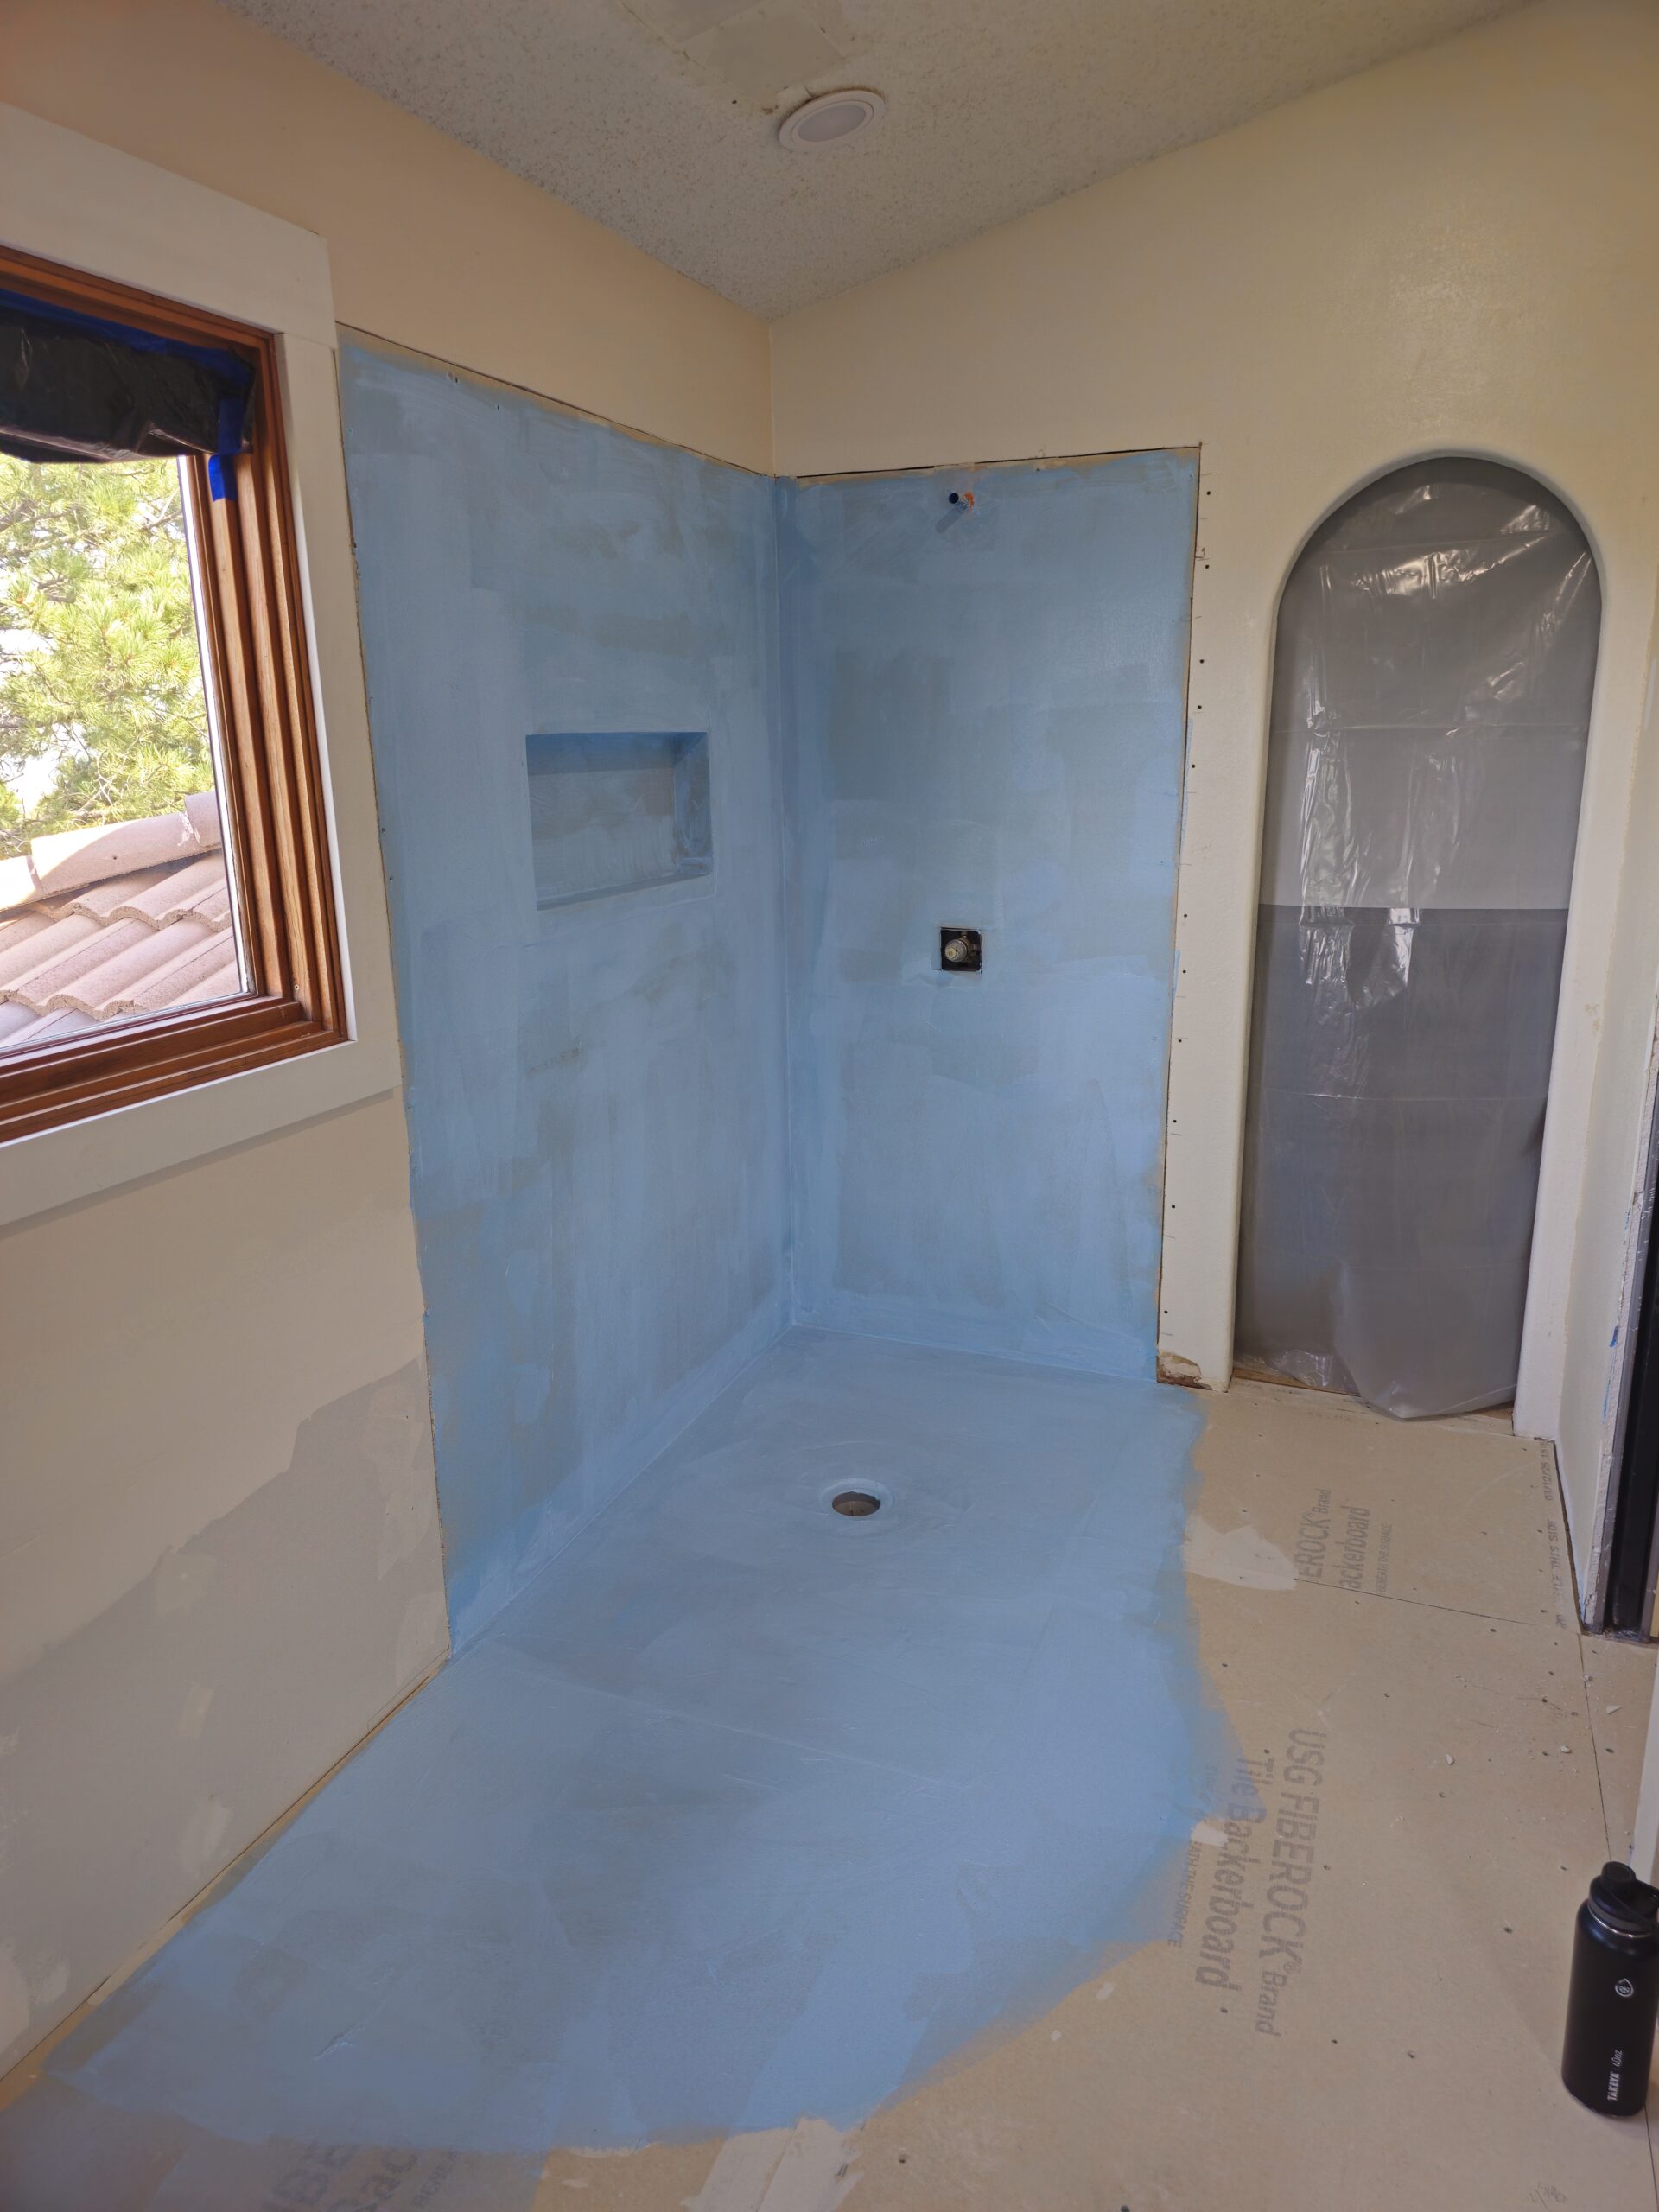
Modern WaterproofingHow Modern Waterproofing Changed Everything
Modern waterproofing systems:
- Create a continuous moisture barrier
- Control where water goes
- Protect framing and structure
- Allow showers to perform reliably long-term
The difference is not cosmetic it is structural.
Bottom line
Older showers weren’t built wrong they were built for their time. But time has moved on. Tile, grout, cement board, and water-resistant drywall were never designed to be waterproofing systems. If your shower doesn’t have a dedicated waterproofing layer, water is reaching places it shouldn’t whether you can see it yet or not.
Homeowner test:
“Can you point to the exact layer that stops water?”
Modern shower waterproofing products are tested to ANSI A118.10, which is the industry standard for bonded waterproofing membranes used behind tile. Materials like tile, grout, cement board, and water-resistant drywall do not meet this standard and were never intended to stop water.
Failure #2: Incomplete Waterproofing
Waterproofing must be continuous.
A waterproofing system only works when it forms a complete, uninterrupted barrier that directs water where it is intended to go.
Most waterproofing failures do not occur in the middle of walls or floors.
They occur where one surface meets another. Waterproofing doesn’t fail in the middle of walls it fails at details.
A waterproofing system is only as strong as its weakest transition.
Where waterproofing fails most often
Incomplete waterproofing almost always shows up at:
- Inside and outside corners
- Niches and shelves
- Valve openings and plumbing penetrations
- Shower head arms
- Benches and curbs
- Pan-to-wall and wall-to-floor transitions
These areas experience:
- Concentrated water exposure
- Material movement
- Complex geometry
- Multiple materials meeting at once
They require extra attention, not shortcuts.
The “looks waterproof” problem
One of the most common homeowner misunderstandings is assuming that:
- Uniform color
- Clean lines
- Neat tile layout
…means the system is waterproof.
A surface can look perfectly coated and still be missing critical details.
Water does not need a large opening.
It only needs a path.
How incomplete waterproofing happens
Incomplete waterproofing usually results from:
- Rushing detail work
- Mixing products without understanding system roles
- Assuming thinset, grout, or caulk will “handle it”
- Skipping manufacturer-required steps
- Treating corners and penetrations as cosmetic details
None of these failures are obvious once tile is installed.
Why corners and penetrations matter so much
Corners and penetrations are stress points because:
- Materials expand and contract differently
- Framing moves
- Plumbing fixtures shift slightly over time
- Water concentrates at these locations
If waterproofing is not reinforced and continuous at these points, failure is only a matter of time.
Continuous does not mean complicated
A continuous waterproofing system does not require:
- Exotic products
- Overengineering
- Excessive layers
It requires:
- A clear plan
- Intentional transitions
- Compatibility between materials
- Proper sequencing
Simplicity with discipline outperforms complexity without it.
What homeowners should look for
During construction or in progress photos, homeowners should be able to identify:
- A clear waterproofing layer
- How that layer continues through corners
- How penetrations are sealed
- How surfaces connect without gaps
If the explanation is unclear or dismissive, that is a warning sign.
Common misconceptions
- “Tile will cover it”
- “Caulk will seal it”
- “We’ve always done it this way”
- “It’s never leaked before”
Waterproofing failures are rarely immediate they are delayed and cumulative.
Bottom line
Incomplete waterproofing does not fail all at once.
It fails where water concentrates and movement occurs.
A shower does not need to be poorly built to fail it only needs one untreated transition.
Understanding this principle allows homeowners to ask better questions and avoid expensive mistakes.
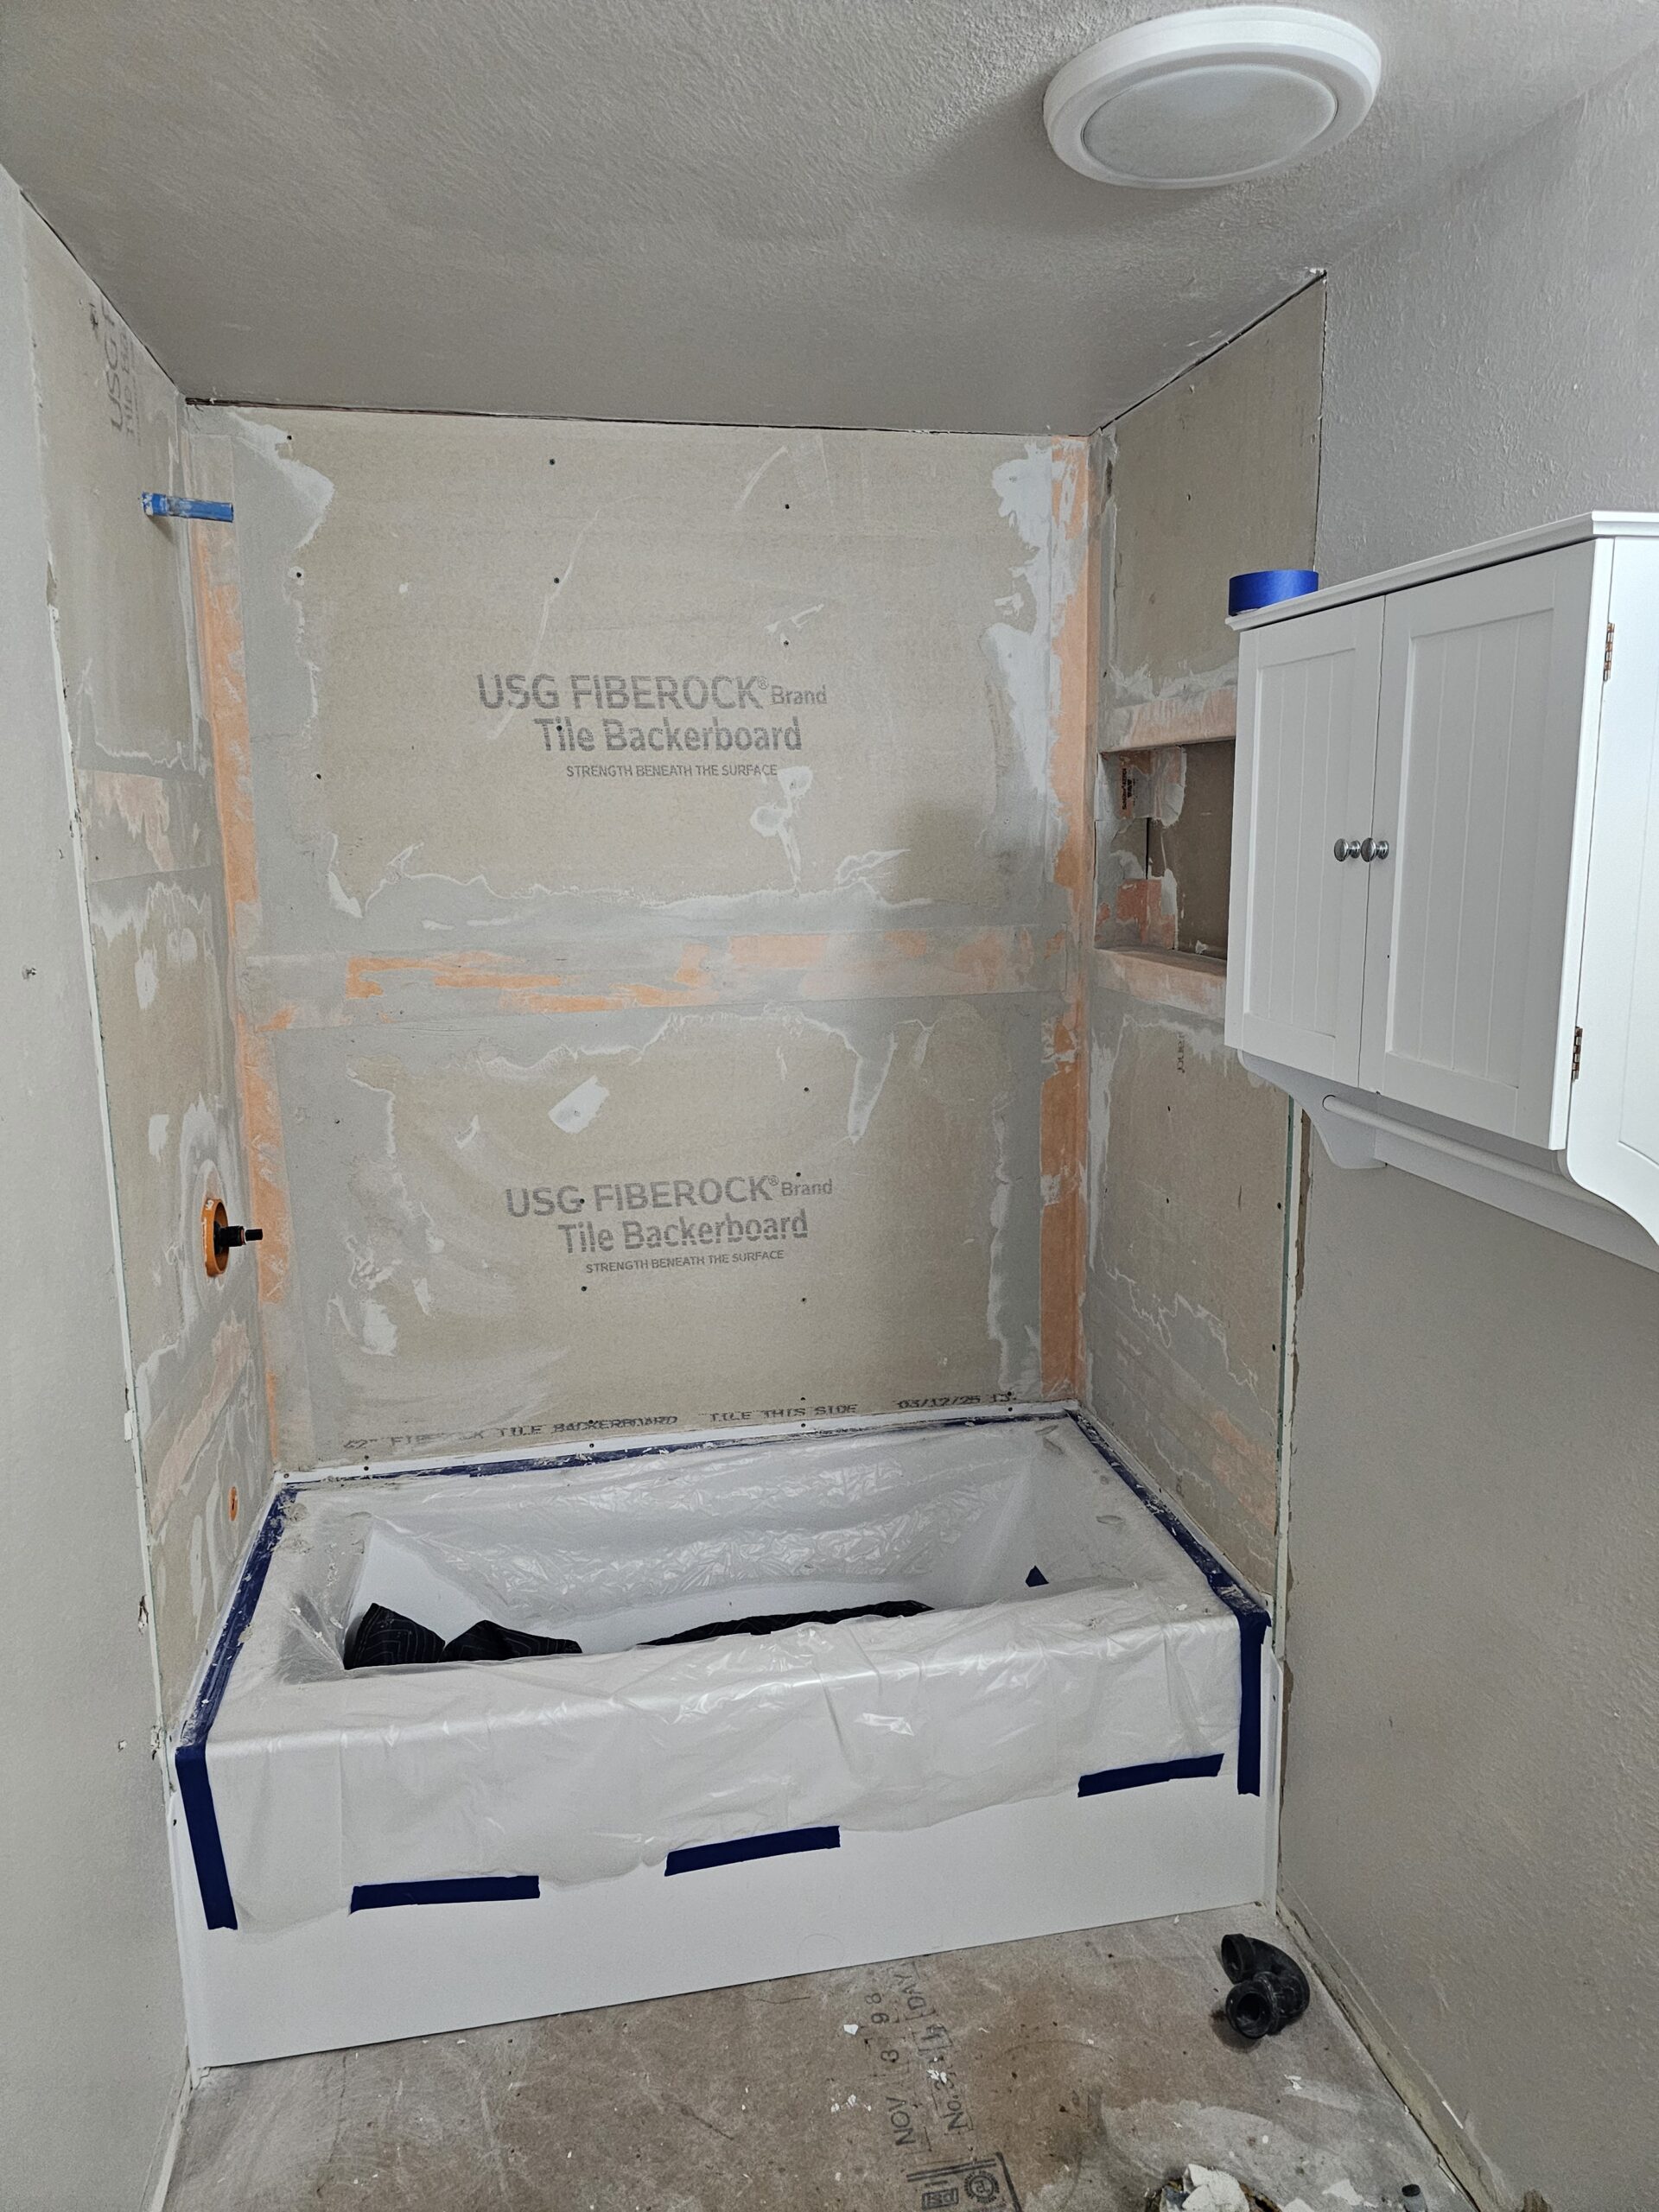
Shower PanFailure #3: Pan and Wall Not Properly Connected- Most Important
The shower pan and walls must be tied together into one waterproof system.
A shower pan and shower walls cannot function as separate components.
They must be intentionally connected into a single, continuous waterproof system. When they are not, water finds the gap — even if everything looks perfect from the outside.
This joint is one of the most stressed areas in a shower.
Why this joint is so vulnerable
The pan-to-wall transition experiences:
- Constant water exposure
- Daily temperature changes
- Structural movement
- Expansion and contraction between different materials
In many showers, this transition is treated as an afterthought or worse, assumed to “take care of itself.”
It does not.
The most common mistake
A very common failure looks like this:
- The pan is waterproof
- The walls are waterproof
- But the connection between them is not
When this happens, water bypasses the system entirely and enters the wall assembly at the base — exactly where damage spreads fastest.
Two waterproof components do not automatically create a waterproof system.
Why thinset, grout, and caulk are not enough
This joint should never rely on thinset, grout, or surface caulk alone to stop water.
Those materials:
- Are rigid or semi-rigid
- Are not designed for constant movement
- Degrade over time
A proper pan-to-wall connection requires:
- A waterproof bond
- Flexibility
- Compatibility between materials
This is why purpose-built sealants and membranes exist.
Dissimilar materials must be handled intentionally
Most shower pans and walls are made from different materials, such as:
- Foam pans
- Mortar beds
- Cement or fiber boards
- Liquid or sheet membranes
Different materials move differently.
If movement is not accommodated, the weakest point the transition fails first.
How this failure shows up later
When the pan-to-wall connection is compromised, symptoms often include:
- Soft walls near the floor
- Mold smell outside the shower
- Loose or cracked tile at the base
- Damage spreading beyond the shower footprint
These failures often start invisibly and worsen over time.
Why this matters even more in modern showers
Modern showers increase stress at this joint because of:
-
Larger tile
-
Heavier glass enclosures
-
More frequent use
-
Curbless designs
The margin for error is smaller than ever.
What homeowners should look for
In progress photos or during construction, homeowners should be able to identify:
- How the wall waterproofing connects to the pan
- What product or method is used at that transition
- Whether flexibility and waterproofing are both addressed
If the answer is vague or dismissive, that is a red flag.
The principle that prevents failure
The pan and walls must behave as one waterproof assembly — not separate parts hoping to work together.
This connection must be:
- Planned
- Detailed
- Executed intentionally
Bottom line
Many showers fail not because the pan is bad, and not because the walls are bad but because they were never truly connected.
This joint sees more stress than almost any other part of the shower.
Treating it as a cosmetic detail instead of a structural waterproofing detail guarantees problems later.
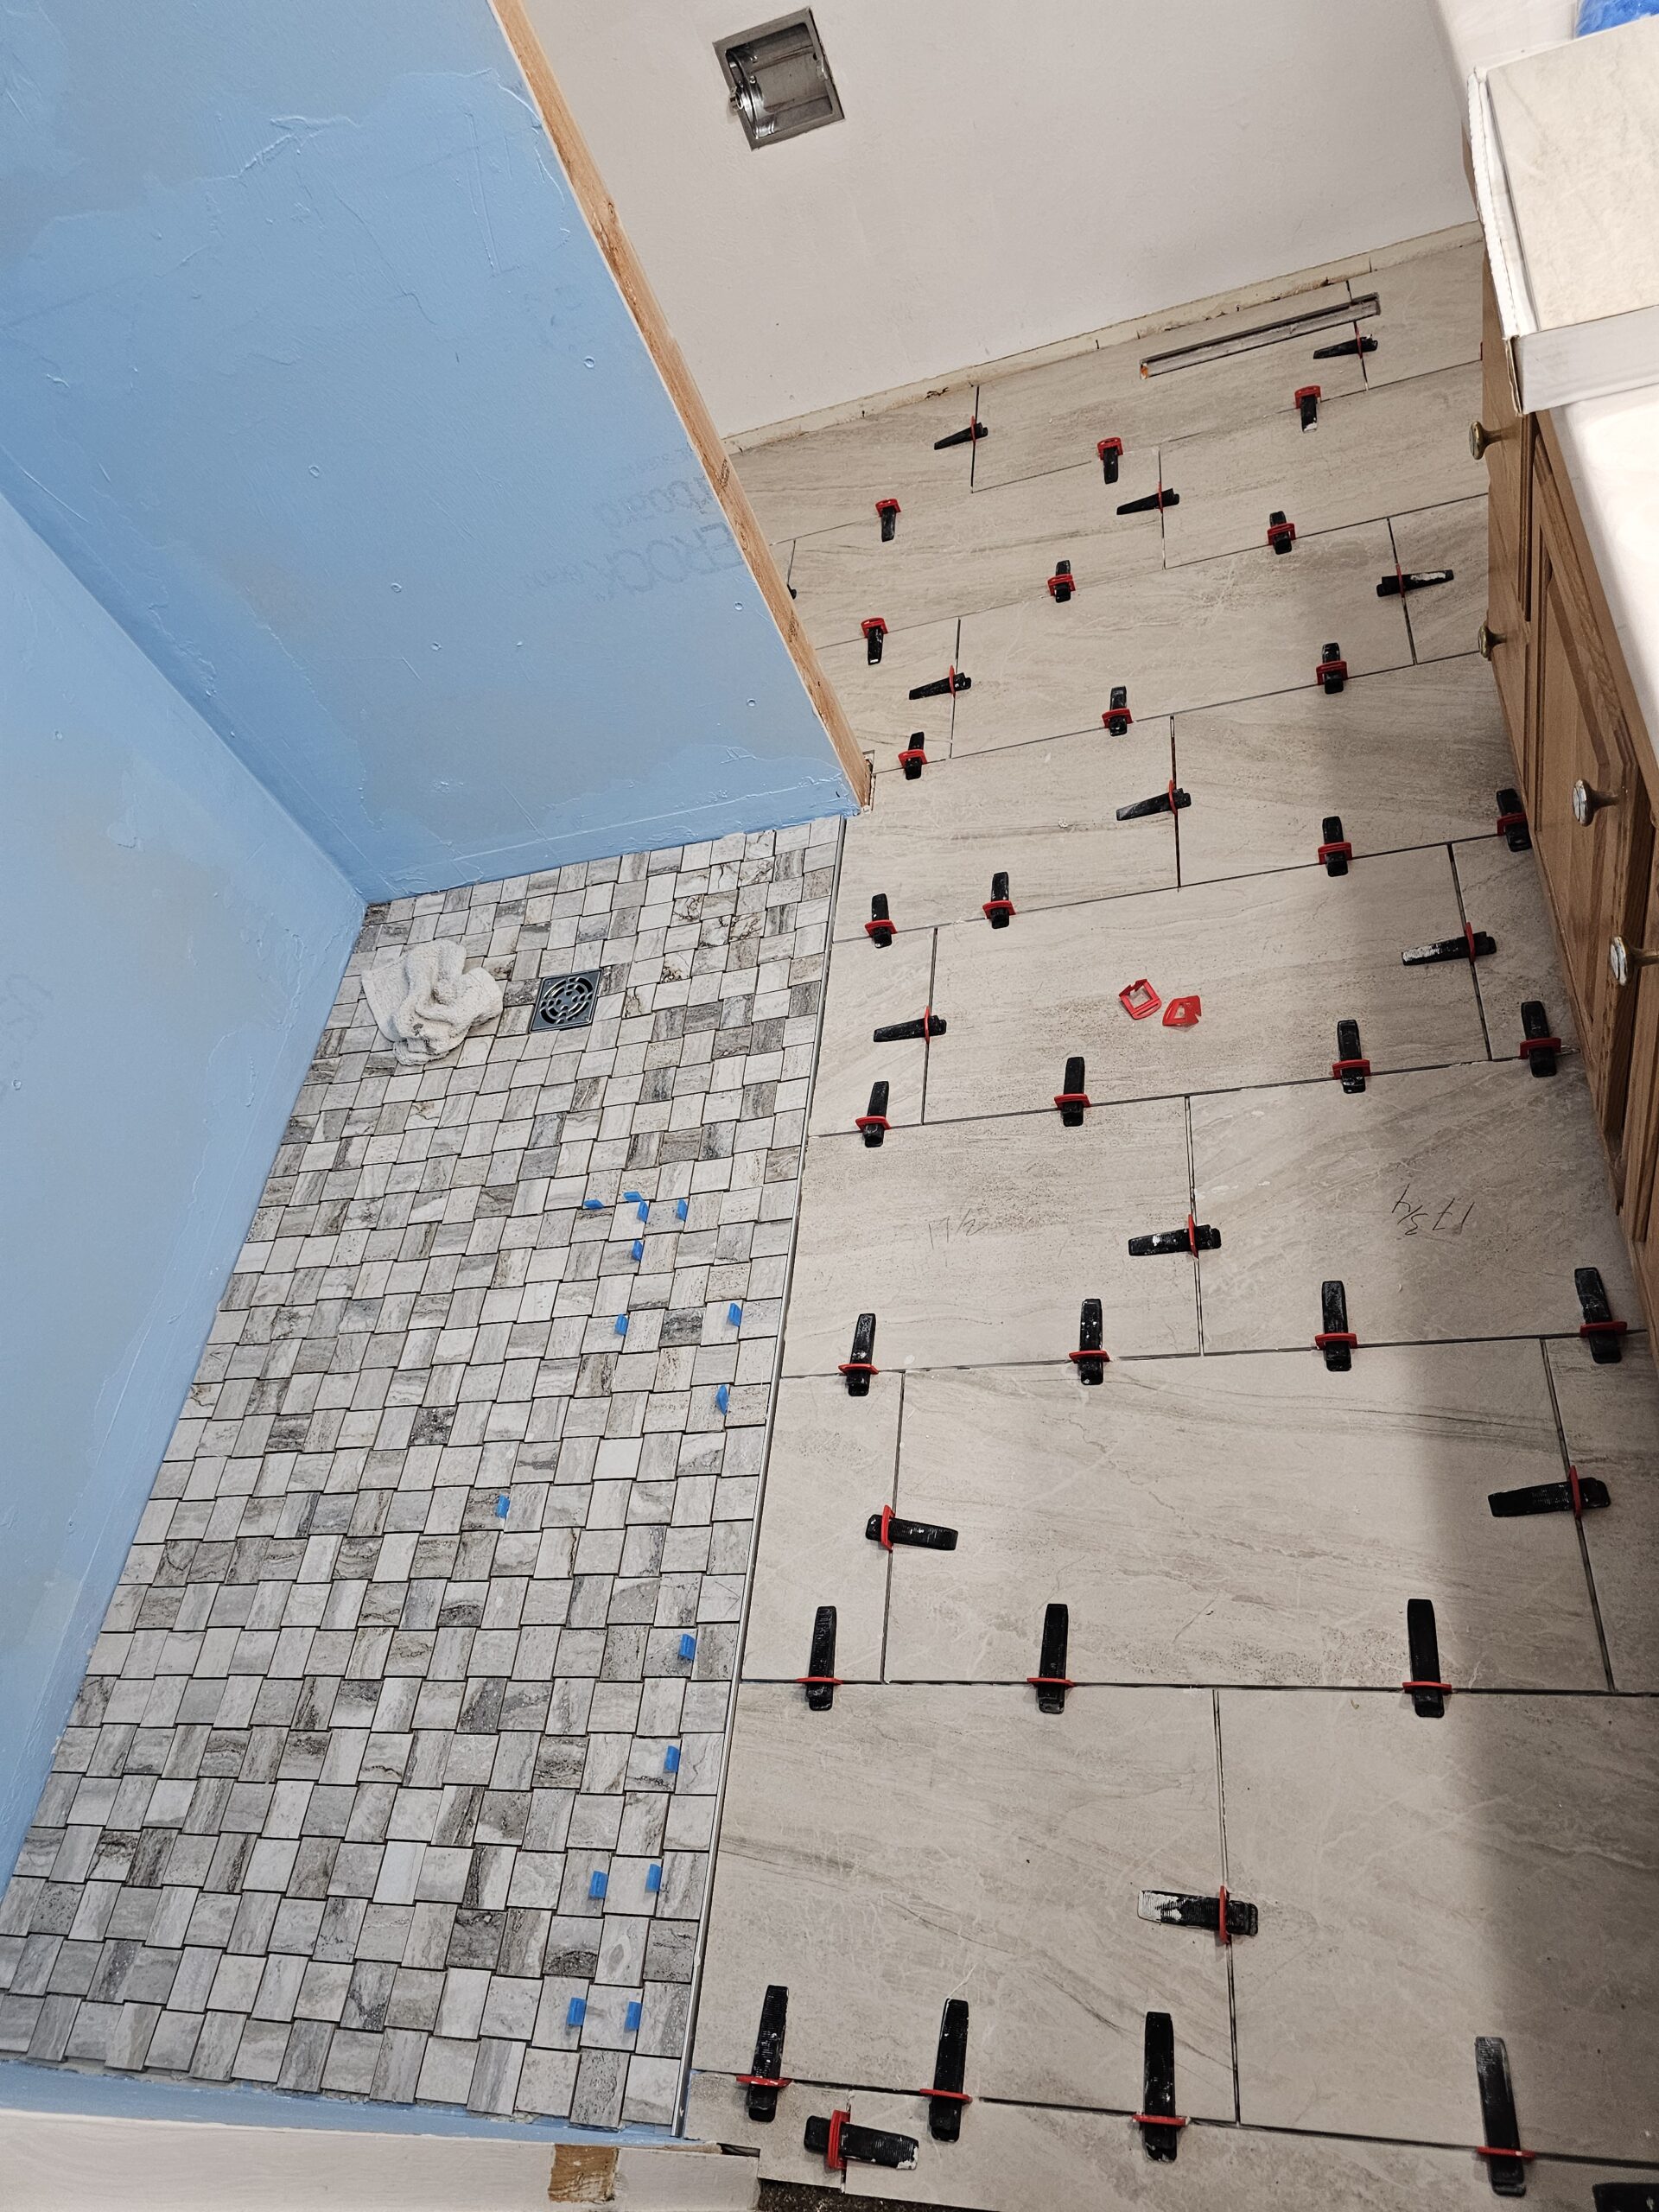
Liquid MembranesLiquid membranes work but only when they’re treated like systems, not paint.
Liquid-applied waterproofing membranes are widely used in modern bathrooms and can perform extremely well. Many failures blamed on “liquid membranes” are not caused by the product they are caused by how the product was applied.
Liquid waterproofing is not paint.
It is a performance membrane with specific requirements.
The most common mistake: Treating it like paint
Liquid membranes fail when they are:
- Rolled on too thin
- Applied in a single coat
- Missed at corners and transitions
- Inconsistently applied
- Rushed between coats
A liquid membrane must be applied at the manufacturer’s required thickness to function as a waterproofing layer. Anything less is cosmetic coverage, not protection.
Thickness matters (more than brand)
Liquid membranes are engineered to perform at a specific dry-film thickness.
When applied too thin:
- Pinholes form
- Weak spots develop
- Waterproofing becomes unreliable
These failures are invisible once tile is installed but water will find them.
A liquid membrane that looks “blue everywhere” is not necessarily waterproof.
Corners, seams, and penetrations are critical
Liquid membranes fail most often at:
- Inside corners
- Outside corners
- Niches
- Valve penetrations
- Shower head arms
- Pan-to-wall transitions
These areas require extra attention, not a quick pass with a roller.
Rushing detail work is one of the fastest ways to compromise an otherwise good system.
Drying time is not optional
Liquid membranes require proper drying time between coats.
Skipping or shortening drying time can:
- Trap moisture
- Reduce membrane strength
- Prevent proper curing
Fast schedules do not improve performance they reduce it.
Visual inspection is essential
Before tile is installed, the waterproofing layer should be visually inspected for:
- Uniform color
- Consistent coverage
- No pinholes or thin spots
- Proper treatment of corners and penetrations
If the waterproofing layer cannot be clearly identified and evaluated, the system cannot be trusted.
Why liquid membranes still make sense
When installed correctly, liquid membranes offer real advantages:
- Seamless coverage
- Easy detailing around penetrations
- Compatibility with complex shapes and niches
- No seam overlap requirements
They fail not because they are liquid, but because precision is required.
Homeowner questions to ask
- “How many coats are applied?”
- “How is thickness verified?”
- “How are corners and penetrations handled?”
- “Is the waterproofing inspected before tile?”
A knowledgeable installer will answer clearly and confidently.
Bottom line
Liquid membranes are not forgiving products.
They demand:
- Attention to detail
- Proper thickness
- Careful sequencing
When those requirements are met, liquid membranes are reliable and effective.
When they are rushed or treated casually, failure is only a matter of time.
Failure #5: Sheet Membrane Failures
Sheet systems fail at seams, overlaps, and penetrations when installation discipline is missing.
Sheet membrane waterproofing systems are widely used and can perform extremely well when installed correctly. Their advantage is clarity homeowners can often see the waterproofing layer, which creates confidence.
That visibility, however, can also create a false sense of security.
Where sheet membrane systems fail
Sheet membrane failures almost never occur in the middle of a wall or floor.
They occur at:
- Seams and overlaps
- Inside and outside corners
- Pipe penetrations
- Valve openings
- Niches, benches, and curbs
- Pan-to-wall transitions
These areas require precise detailing, not assumptions.
Overlap requirements are not optional
Sheet membrane systems rely on minimum overlap requirements at seams and transitions.
When overlaps are:
- Too small
- Inconsistent
- Improperly bonded
…the waterproofing layer becomes discontinuous, even if the membrane itself is intact.
A seam that looks “good enough” may not meet the system’s requirements.
Sheet membrane systems that meet ANSI A118.10 are designed to be waterproof but only when seam and penetration requirements are followed exactly.
Penetrations are the highest-risk areas
Every pipe, valve, or fastener that passes through a sheet membrane creates a potential failure point.
Failures occur when:
- Penetrations are sealed casually
- Collars or seals are skipped
- Assumptions replace detailing
Water concentrates at penetrations and it only takes one weak point.
Corners and complex shapes demand discipline
Sheet membranes work best on flat, simple surfaces.
They become more demanding at:
- Inside corners
- Outside corners
- Niches
- Benches
- Curbs
Folding, overlapping, and sealing membranes at these locations requires patience and experience. Rushing this work undermines the entire system.
Visibility does not equal verification
One of the most common homeowner misconceptions is:
“I can see the membrane, so it must be waterproof.”
Seeing a membrane does not guarantee:
- Proper overlap
- Adequate bonding
- Complete penetration sealing
A visible membrane still requires verification and inspection.
Why sheet systems still make sense
When installed with discipline, sheet membrane systems offer real benefits:
- Consistent thickness
- Clear system components
- Strong performance when detailed correctly
They fail not because they are sheet membranes but because precision is required at every connection.
Homeowner questions to ask
- “What overlap is required at seams?”
- “How are penetrations sealed?”
- “How are corners handled?”
- “How is continuity verified before tile?”
A knowledgeable installer will not be defensive about these questions.
Bottom line
Sheet membrane systems do not fail randomly.
They fail where:
- Overlaps are insufficient
- Penetrations are rushed
- Details are assumed instead of executed
A continuous membrane is only continuous if every seam and penetration is treated intentionally.
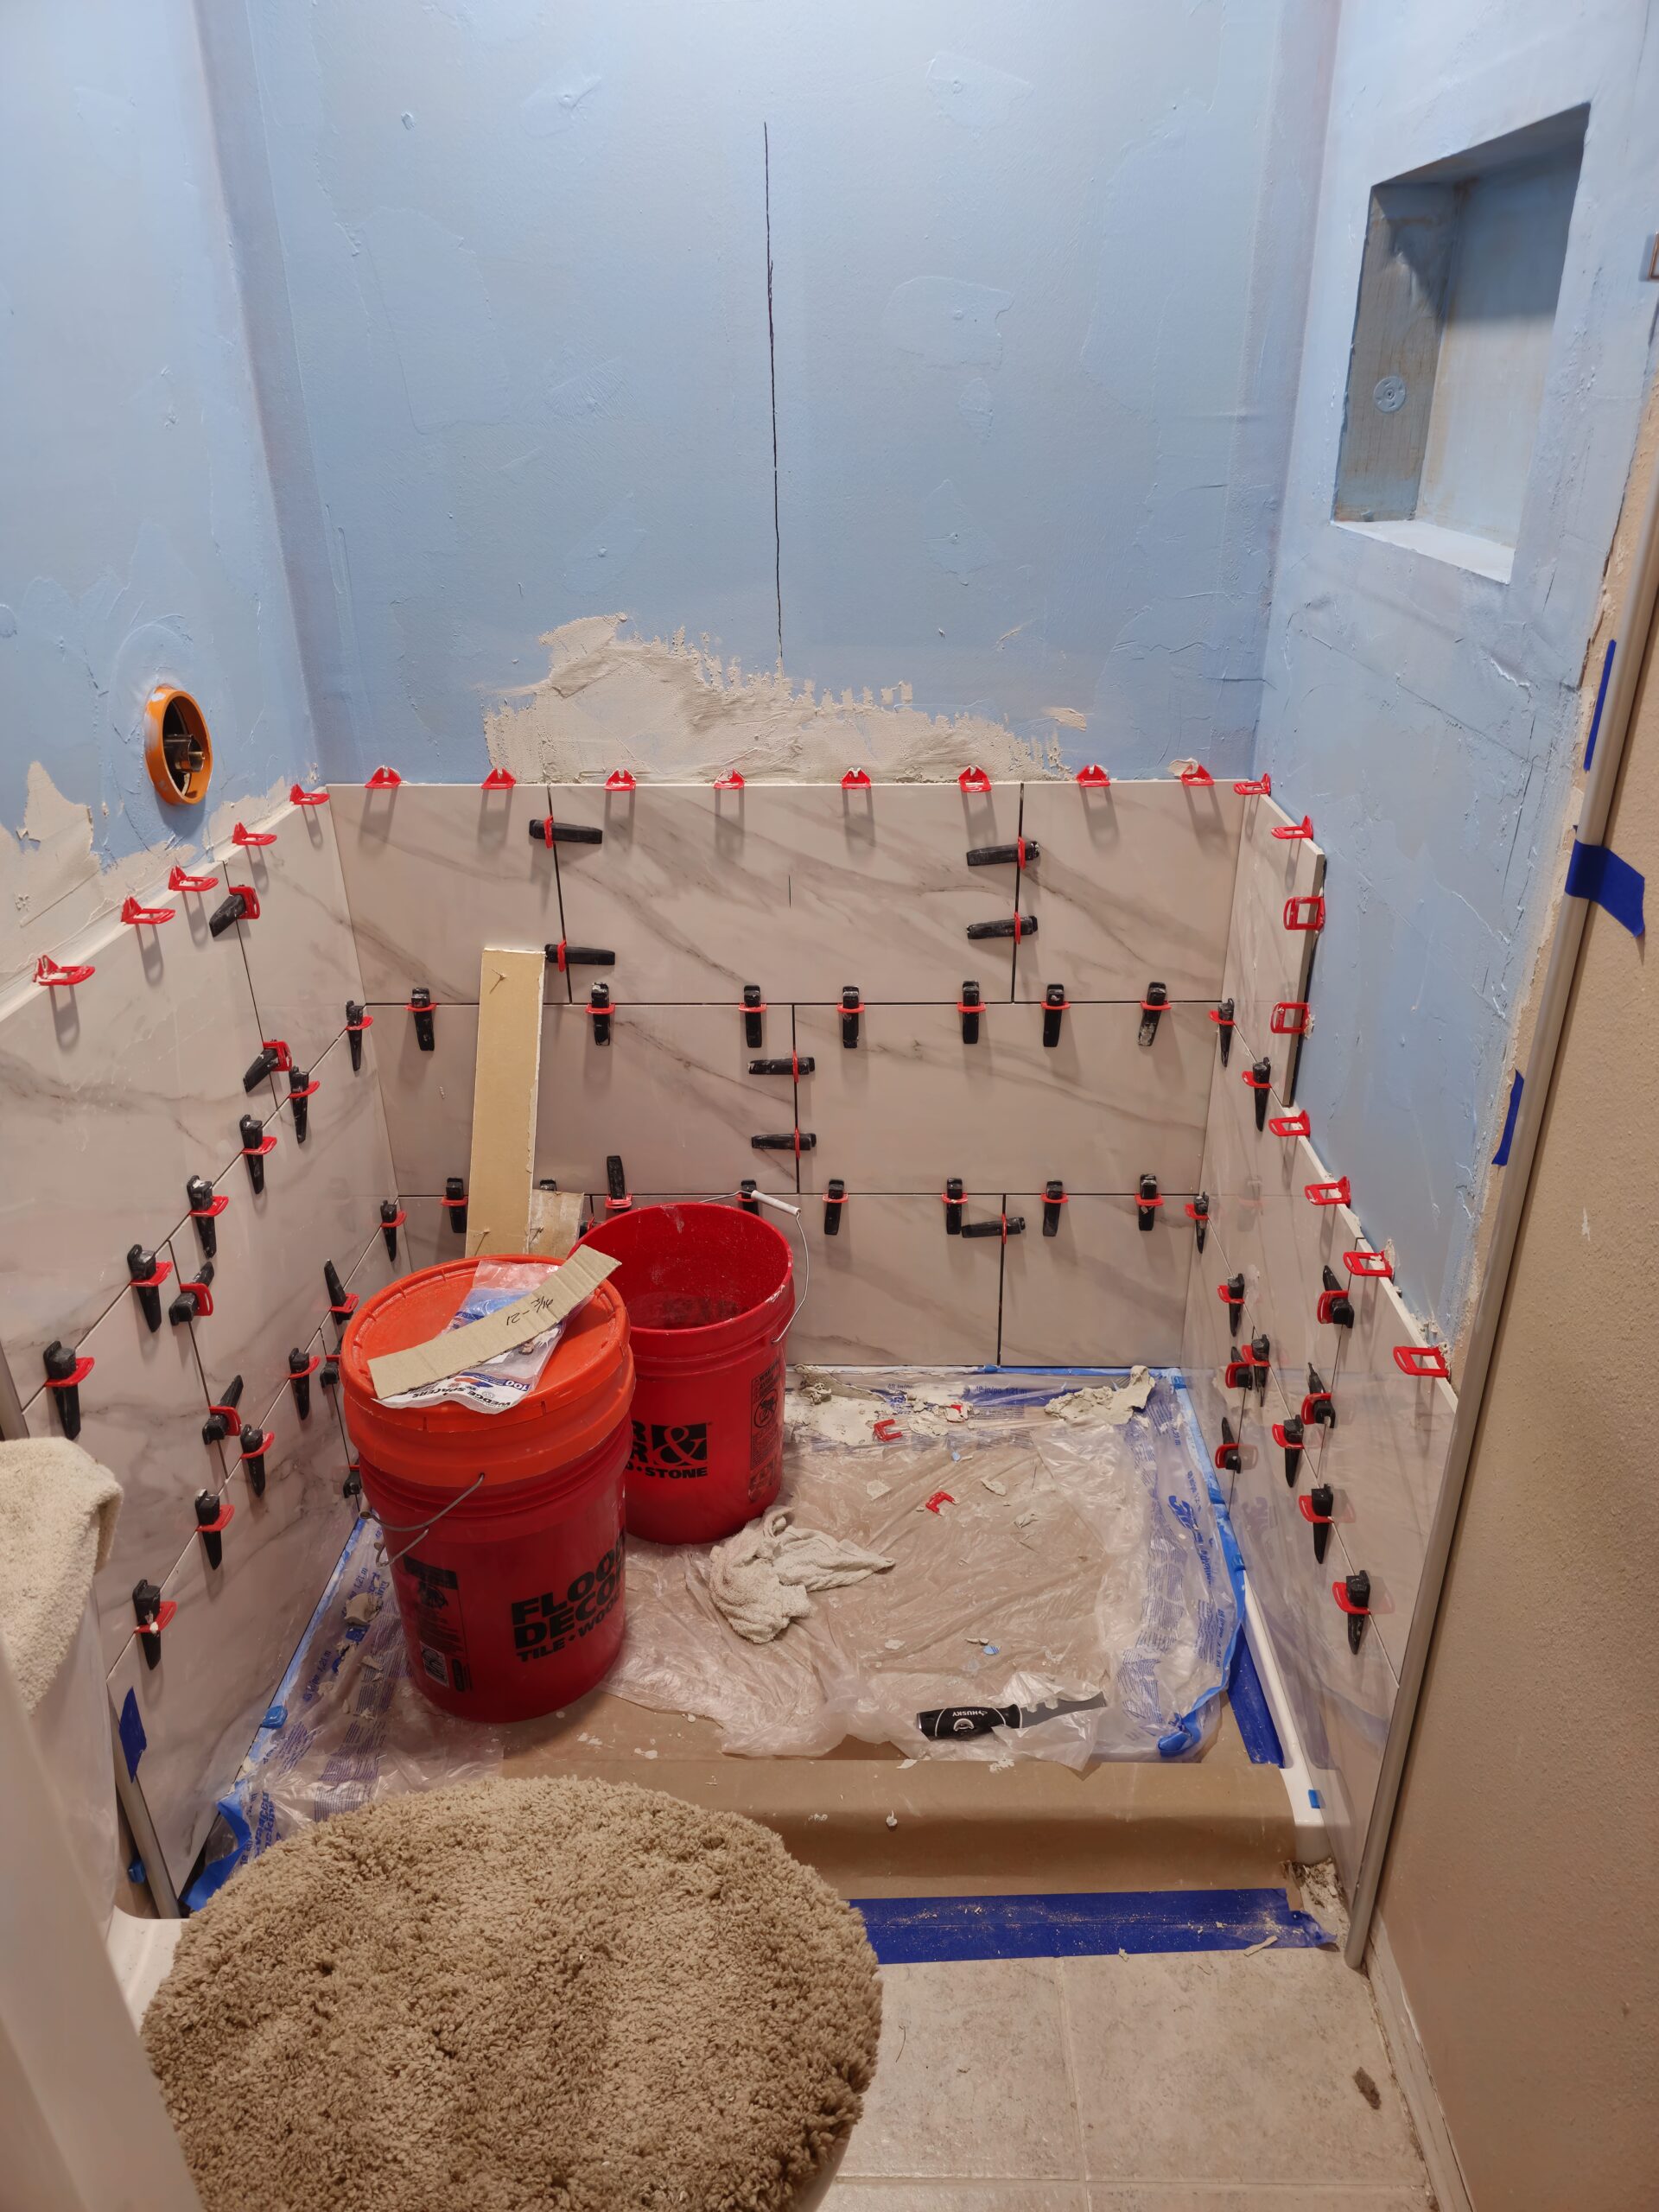
No Flood testFlood testing is everything when it comes to verifying your waterproof system.
Skipping verification hides problems until damage appears.
Flood testing is one of the best ways to verify a shower’s waterproofing system before tile permanently hides it — but not every shower can be flood tested in the traditional way.
Curbless or zero entry showers are the most common exception.
Failure #6: No Flood Test
Skipping verification hides problems until damage appears.
Flood testing is one of the best ways to verify a shower’s waterproofing system before tile permanently hides it but not every shower can be flood tested in the traditional way.
Curbless showers are the most common exception.
Curbless showers and flood testing (important clarification)
In a curbless shower, there is no dam to hold standing water in the traditional sense. Because of this, a full 24-hour flood test is often not practical or possible.
That does not mean curbless showers get a pass on verification.
It means the focus shifts from holding water to controlling water.What replaces a traditional flood test in a curbless system
When a traditional flood test isn’t possible, protection comes from attention to detail and redundancy, including:
- Meticulous waterproofing at the pan-to-wall transition
- Continuous membrane coverage beyond the shower footprint
- Proper slope to the drain with no flat spots
- Extra care at corners, niches, and penetrations
- Correct bonding of dissimilar materials
- Visual inspection of membrane continuity before tile
- Strict adherence to manufacturer requirements
In curbless systems, the margin for error is smaller which makes installation quality more important, not less.
The real principle (this matters)
The goal is not the flood test itself.
The goal is verification.
Verification can look different depending on the system:
- Traditional showers → flood testing
- Curbless showers → enhanced detailing, redundancy, and inspection
What matters is that the installer intentionally proves the system works before tile is installed.
Why curbless showers fail when shortcuts are taken
Curbless systems fail when:
- Waterproofing stops at the shower footprint
- Transitions are rushed
- Slope is assumed instead of confirmed
- Installers rely on tile or grout to manage water
Water in a curbless shower doesn’t stop at an edge — it follows gravity.
Homeowner questions for curbless showers
Homeowners should feel comfortable asking:
- “How is waterproofing extended outside the shower area?”
- “How is the pan-to-floor transition sealed?”
- “What extra precautions are taken for a curbless design?”
- “How is slope verified before tile?”
A confident installer can answer these clearly.
Bottom line
Flood testing is ideal when possible.
When it isn’t, verification must be replaced with intentional design, careful execution, and extra protection.
Curbless showers are not inherently risky poorly executed curbless showers are.
Failure #7: Ignoring Movement
Bathrooms move. Rigid assemblies crack. Movement joints matter.
A bathroom is not a static structure.
Even in a well-built home, bathrooms experience constant movement caused by:
- Temperature changes
- Humidity swings
- Framing expansion and contraction
- Daily use and vibration
- House settling over time
Tile and grout are rigid materials.
When they are forced to absorb movement, they crack.
Where movement shows up first
Movement problems almost always appear at:
- Inside corners
- Changes of plane (wall-to-wall, wall-to-floor)
- Transitions between materials
- Long uninterrupted tile runs
These are predictable stress points not surprises.
The most common mistake: Grouting corners
One of the most common and avoidable failures is grouting inside corners.
Grout is rigid.
Corners move.
When grout is used where movement exists, it will crack. Cracked grout creates a direct path for water to reach the waterproofing layer and eventually the framing.
Correct approach:
- Inside corners should be treated as movement joints
- Flexible sealant (color-matched silicone) is used instead of grout
This isn’t cosmetic preference it’s functional design.
Movement joints aren’t optional
Movement joints are intentionally placed areas that allow tile assemblies to move without cracking.
They are required at:
- Changes of plane
- Perimeters
- Transitions between different substrates
- Large tile fields
Skipping them doesn’t make a shower stronger it makes failure inevitable.
“But it looks better grouted”
Grouted corners may look clean on day one.
Over time they almost always:
- Crack
- Discolor
- Allow moisture movement
Flexible joints are designed to move invisibly. When done correctly, they are subtle, durable, and intentional.
Why movement matters even with waterproofing
Waterproofing protects the structure it does not stop tile from cracking.
Ignoring movement:
- Damages tile and grout
- Compromises finishes
- Leads to maintenance issues
- Signals poor installation discipline
Movement planning is a sign of an installer who understands long-term performance.
Homeowner questions to ask
- “How are inside corners treated?”
- “Where are movement joints located?”
- “What sealant is used at changes of plane?”
A knowledgeable installer can answer these without hesitation.
Bottom line
Bathrooms move.
Tile does not.
Movement joints exist to manage that difference.
Cracks aren’t bad luck they’re usually predictable and preventable.
ANSI A118.12 is the industry standard for crack isolation membranes products designed to absorb small amounts of movement so cracks are less likely to transfer into tile.
————————————————–
Failure #8: “It’s Been Fine for a Year”
Most failures take years to show. Damage starts behind the tile.
One of the most common reasons homeowners delay addressing bathroom issues is simple:
“It’s been fine so far.”
Unfortunately, shower failures rarely announce themselves early.
Why early success doesn’t mean long-term performance
A shower can:
- Look perfect
- Feel solid
- Have no visible leaks
…and still be failing.
Water damage usually begins behind the tile, where it cannot be seen. Moisture builds slowly, moving into framing, subflooring, and wall cavities long before surface symptoms appear.
By the time damage is visible, it is rarely minor.
How shower failures actually develop
Most failures follow a predictable pattern:
- Small amounts of moisture bypass the waterproofing
- Materials absorb and retain that moisture
- Drying becomes slower over time
- Mold and deterioration begin out of sight
- Structural damage spreads
This process can take years, especially in showers that are used daily but appear “normal.”
Why modern showers hide problems longer
Modern bathrooms often conceal failures better because:
- Larger tile means fewer grout lines
- Tight homes slow drying
- Waterproof finishes hide symptoms
- Damage spreads inside wall cavities
The absence of visible damage is not proof of performance — it is often just proof of concealment.
“It hasn’t leaked” is not the same as “it isn’t failing”
Many failed showers:
- Never leak onto the floor
- Never drip into the ceiling below
- Never show mold until demolition
Water damage does not need to be dramatic to be destructive.
A shower does not need to flood to fail — it only needs repeated, uncontrolled moisture.
Why waiting often increases repair scope
When shower failures are caught early:
- Repairs may be localized
- Structural damage may be limited
When failures go unnoticed for years:
- Framing often needs replacement
- Subfloors are compromised
- Mold remediation becomes necessary
- Full demolition is unavoidable
Delaying action rarely saves money it usually increases it.
What this means for homeowners
If your shower:
- Is older
- Was built before modern waterproofing systems
- Has never been inspected behind the tile
…it may be functioning on borrowed time.
This does not mean immediate panic.
It means informed decision-making.
The homeowner mindset shift
Instead of asking:
“Is it leaking yet?”
A better question is:
“Is this system designed to control water long-term?”
That question leads to better outcomes.
Bottom line
Showers don’t fail suddenly.
They fail slowly, quietly, and out of sight.
The phrase “it’s been fine for a year” often means the failure simply hasn’t become visible yet.
Understanding this allows homeowners to act before damage becomes unavoidable not after.
Schluter, Premium Products, and Reality
Many homeowners get excited about premium systems like Schluter and for good reason.
Premium systems:
- Are engineered as complete assemblies
- Offer clarity in components
- Create confidence
The reality:
Premium products do not prevent bad installations.
A system only works if:
- The waterproofing layer is continuous
- Transitions are sealed intentionally
- Penetrations are detailed correctly
- The system is tested
Schluter is a great system. It is not a substitute for competency. No manufacturer can warranty skipped steps or poor detailing.
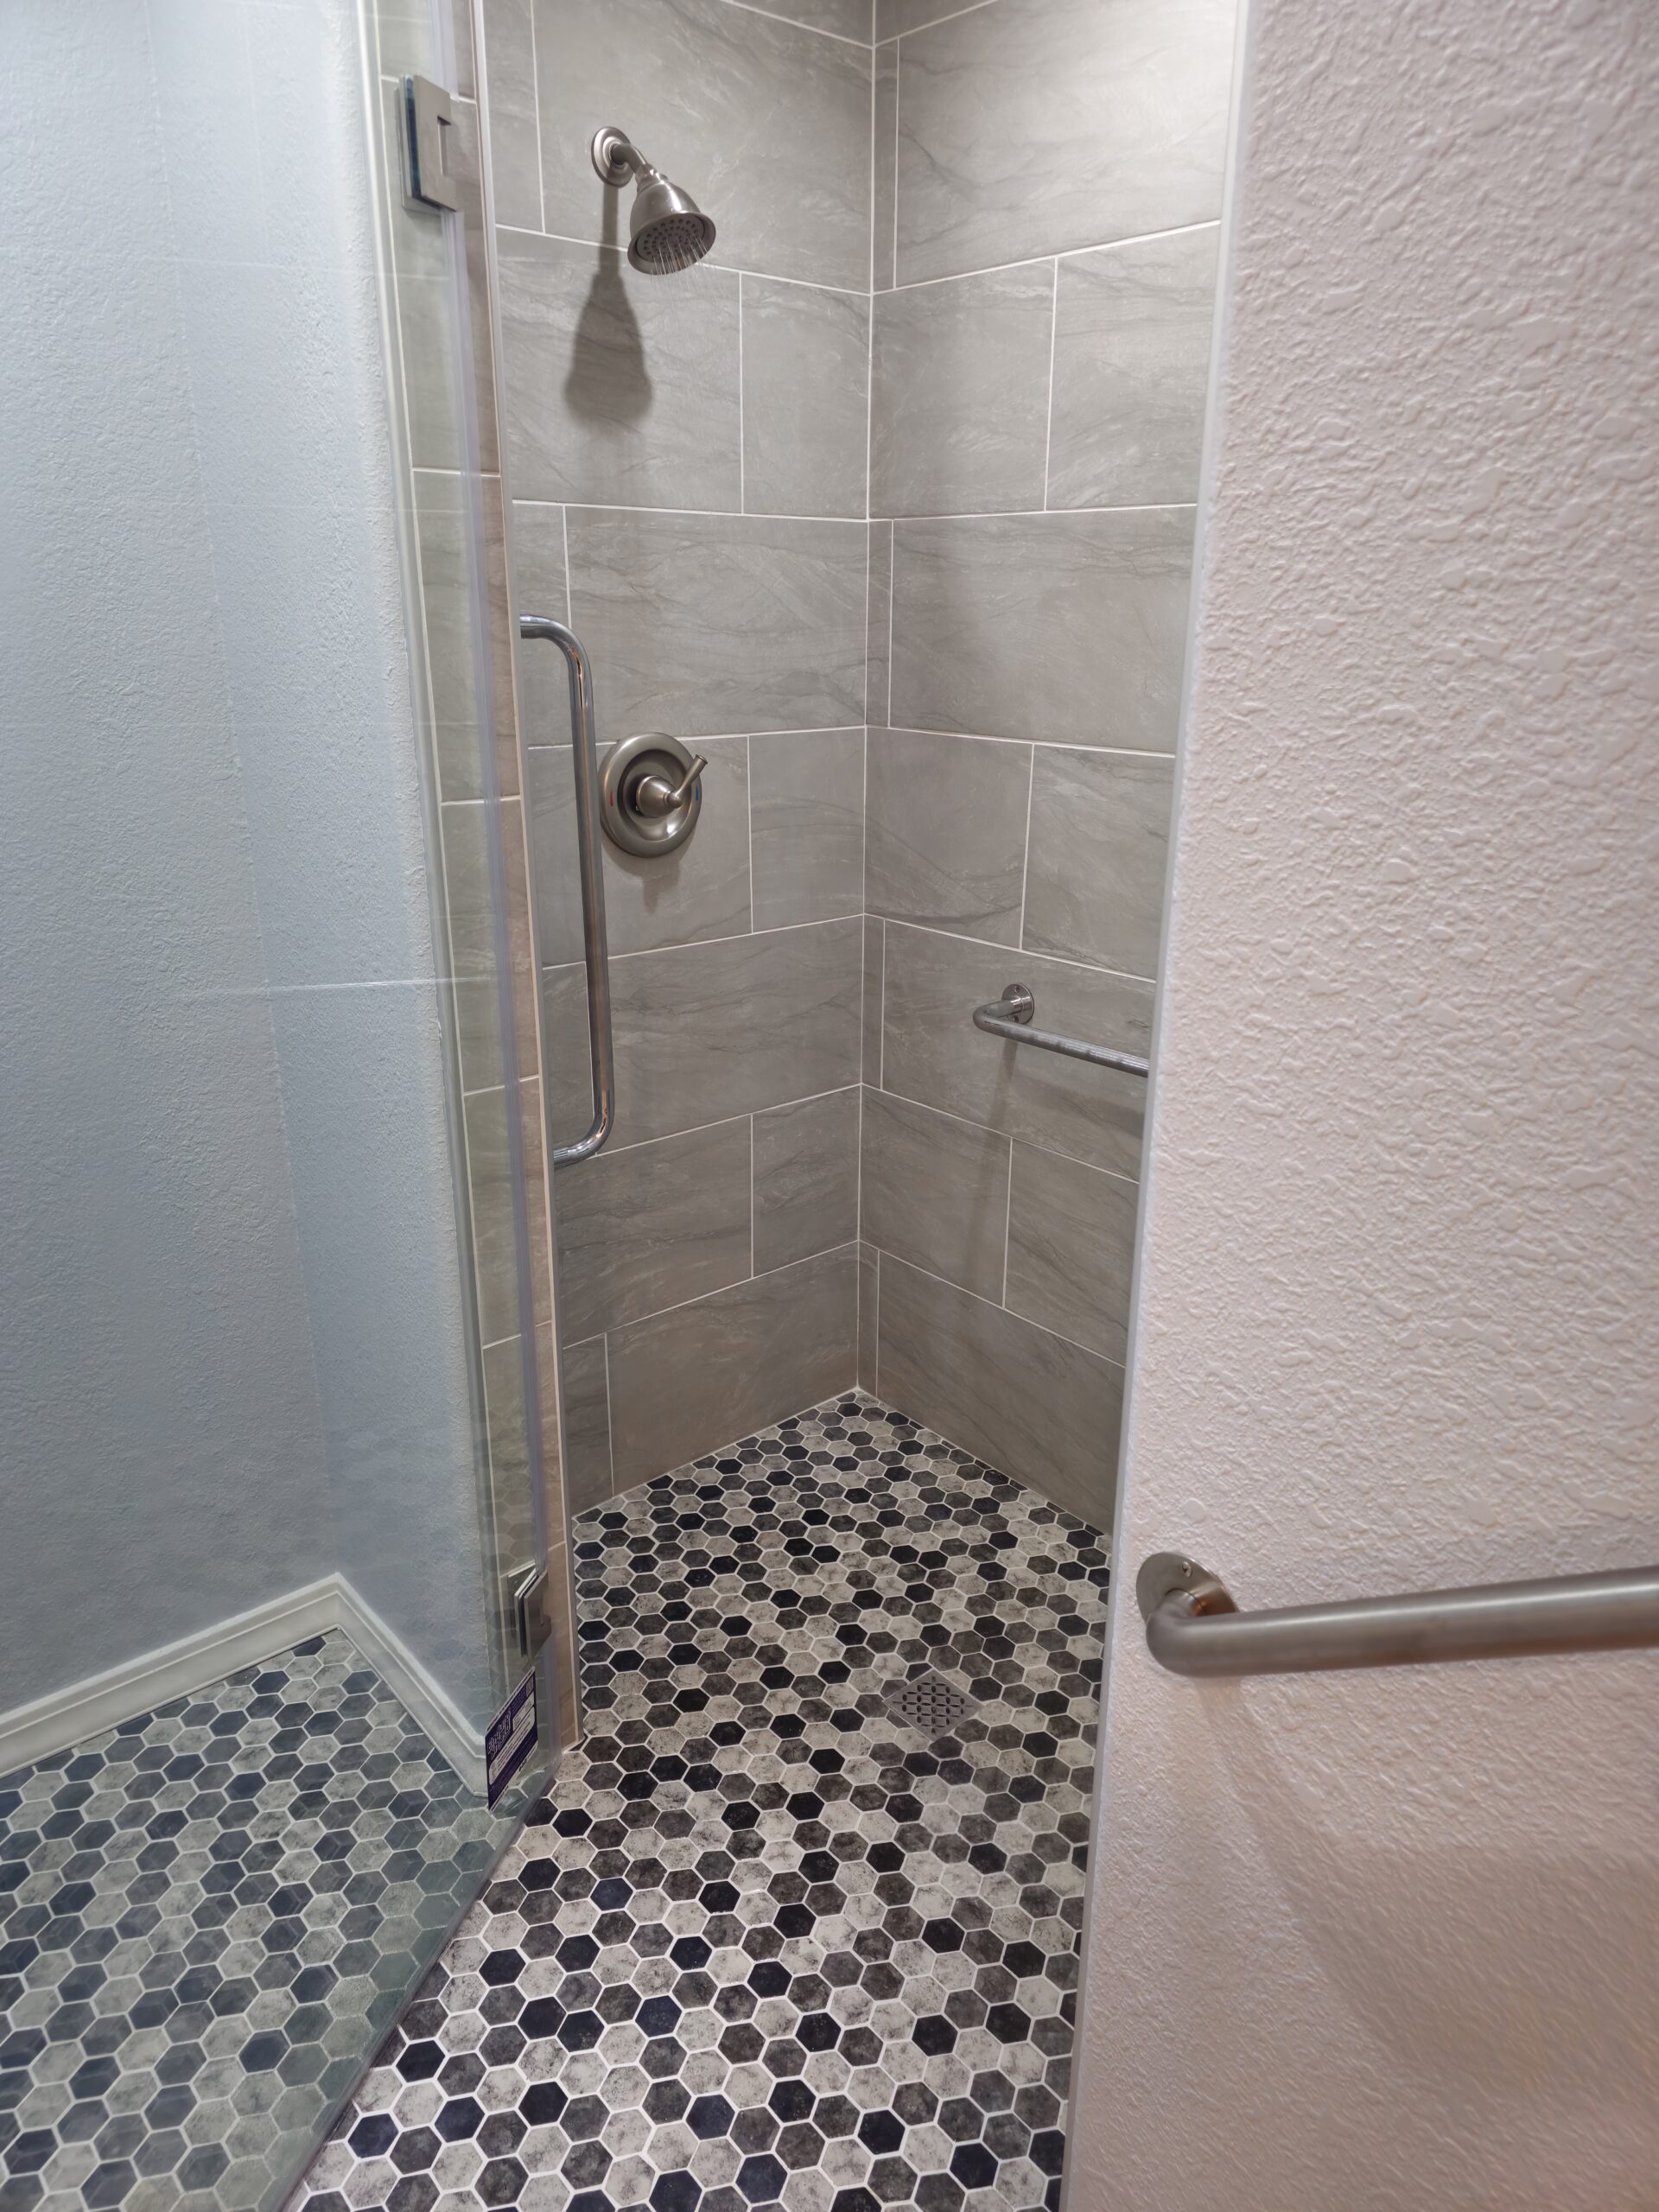
STEP-BY-STEP SHOWER OVERVIEWHOW HOMEOWNERS CAN PROTECT THEMSELVES
Step 0: Demo & Discovery
Identify rot, mold, framing issues, and plumbing problems.
Step 1: Slope & Drainage
Water must move reliably to the drain.
Step 2: Substrate
Substrate supports tile. It is not waterproofing.
Step 3: Seams & Corners
Seams must be treated to create a monolithic surface.
Step 4: Waterproofing
Sheet or liquid systems can both work.
Coverage, thickness, and transitions matter.
Step 5: Pan-to-Wall Transition
This is a critical waterproof joint, not a cosmetic detail.
Step 6: Flood Test
Test the system before tile hides everything.
Step 7: Tile Installation
Large-format tile demands flat surfaces and skill.
Ask:
- What is the waterproofing layer?
- How is it tied to the pan?
- How are penetrations sealed?
- Will the system be tested?
Red Flags:
- “Tile is waterproof”
- “We don’t need permits”
- “We’ve never had a failure”
————————————————–
FINAL THOUGHT
Most bathroom failures are not caused by bad products.
They are caused by missing understanding.
A well-built shower is about:
- Clear roles
- Continuous waterproofing
- Intentional transitions
- Verification before tile